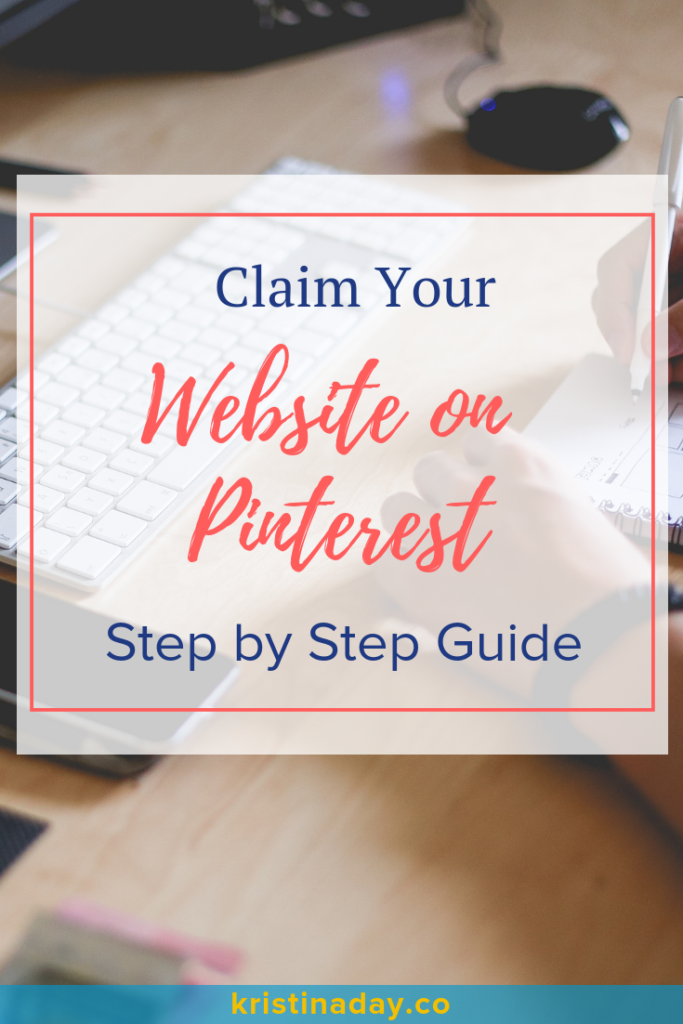
Claim Your Website on Pinterest Or Not?
If you’re thinking if claiming your website on Pinterest is worth the hassle – it definitely is!
Besides, claiming your website is easier than it sounds. Once that’s done you’ll have access to more in-depth analytics, stats on your photos, add save button on your website and so much more!
Before you get started, make sure your account is a business account on Pinterest. I have created a step by step instructions on how you can convert your personal Pinterest account into a business account, so check it out if you need help!
To claim your website you will need to insert HTML tag (piece of code) in the header of your website. But no worries – in this video tutorial, I’m going to walk you through how you can claim your WordPress website without knowing a single thing about coding.
Let’s dive in!
I’ll show you two options how you can go about it – one if you’re using Divi Theme, other using The Yoast SEO plugin.
Let’s look into Divi Theme first:
Once you logged in www.pinterest.com
1. Navigate to the settings (top right corner with three dots)
2. Scroll down till the section “Claim Your Website”
3. Click “Claim”
4. Choose “Add HTML Tag” → Copy the tag
5. Open new tab in your browser and open backend of your WordPress site
6. On the sidebar find Divi → Theme Options → Integration
7. Make sure that Enable Header Code is enabled
8. Scroll slightly down and paste your HTML tag into Add Code To The <Head> Of Your Blog section
9. Scroll down and click “Save Changes”
10. Get back into your Pinterest tab and click “Next” → “Submit”
11. You’ll receive notification within next 24 hours
12. After that when you sign into your Pinterest account you will see a tick next to your website link.
Now let’s see how you can do the same, but with The Yoast SEO plugin:
Follow the same steps from 1 to 5 from the above instructions and then..
1. Look for Yoast SEO plugin on the sidebar → Social
2. Go into Pinterest section
3. Paste your HTML tag in Pinterest Confirmation → “Save Changes”
That’s it!
Now follow my previous instructions from step 10 to 12 🙂
Wasn’t that easy and not that scary?
If you agree with me, but still feel that this is not something you would like to put your time into. You can contact me here to chat about me taking care of your Pinterest, so you don’t have to worry about it!